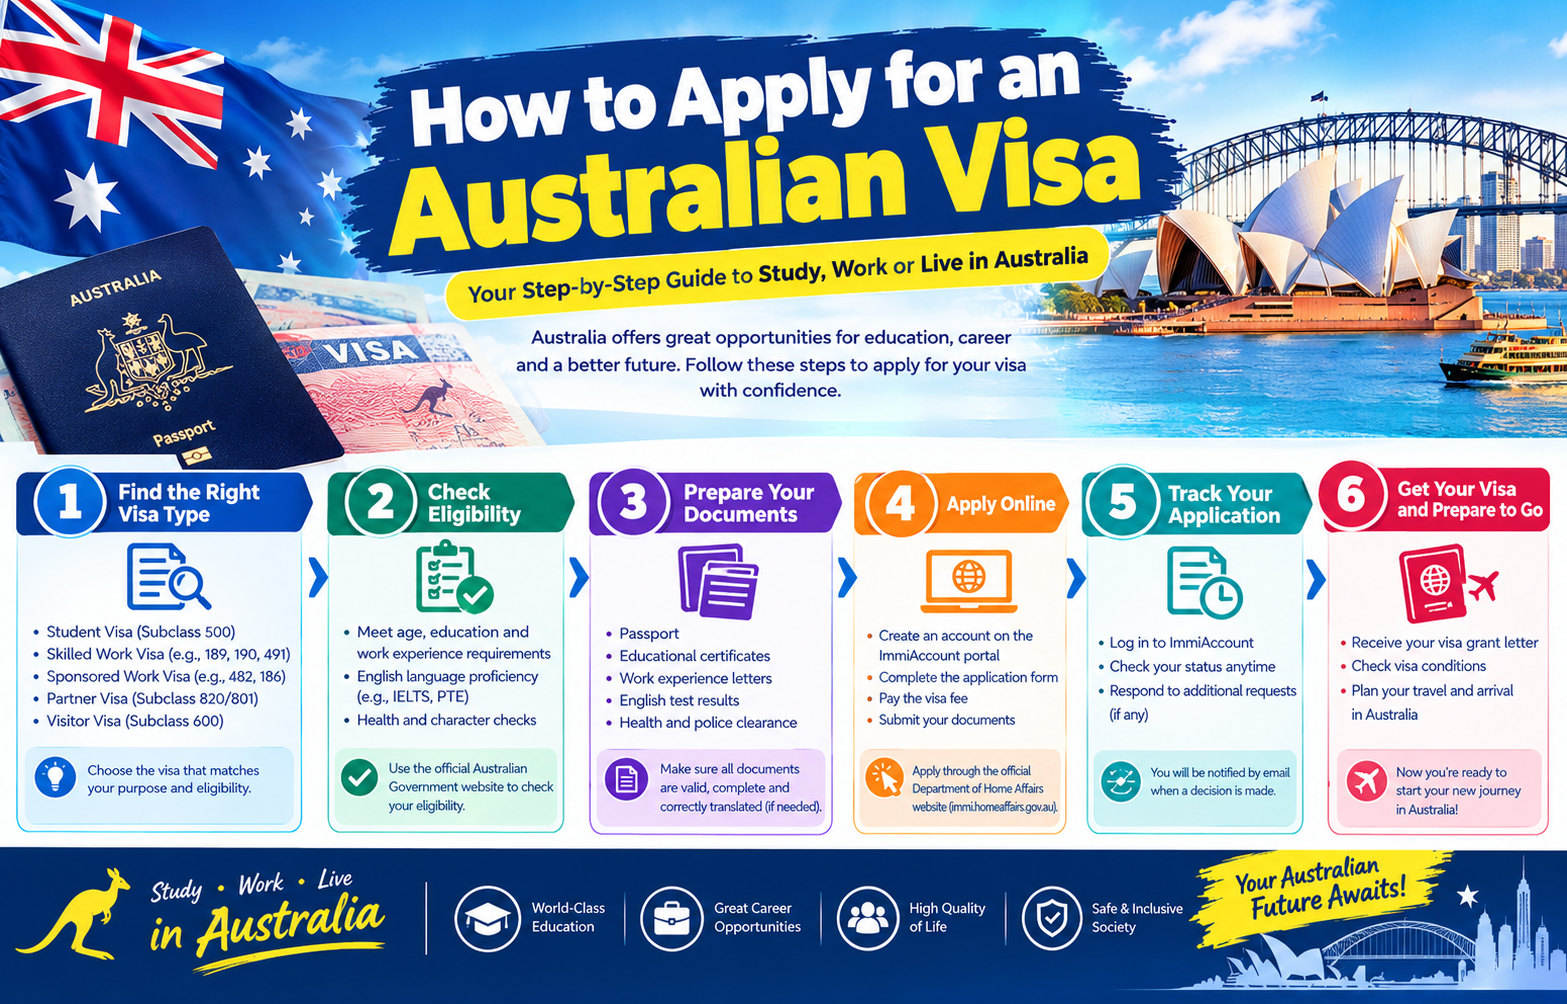
There is no single application form or process for every Australian visa. The right route depends on your purpose—visiting, studying, working, joining family, or seeking a skilled-migration pathway—as well as your passport, location and personal circumstances. Start by identifying the visa option that fits your real plans, then follow the Department of Home Affairs instructions for that specific visa. Choosing a route because its name sounds suitable, without checking its conditions, can lead to wasted fees, delays or refusal.
Sources checked October 14, 2026. Visa criteria, charges, forms and document requirements can change. Treat this as a planning guide, and confirm the current instructions for your visa immediately before applying.
Step 1: Define your purpose before choosing a visa
Write down why you want to travel, how long you expect to stay, what you plan to do in Australia, where you are now, and whether you intend to work or study. These details help narrow the options. A short holiday, a full-time course, a sponsored job and a permanent-migration plan are different purposes and should not be treated as interchangeable visa applications.
Also note your passport country, whether you are inside or outside Australia, and whether a family member or employer is involved. Some routes depend on sponsorship, nomination, an education provider, an invitation or a separate pre-application step. Your passport can affect which visitor route is available. Do not assume that a friend’s successful application used the right option for you.
Use the Department of Home Affairs’ Explore visa options tool to identify possibilities, then open the detailed page for the relevant visa and stream. The tool is a starting point—not a decision that you qualify. Read the visa page’s eligibility and “step by step” information before preparing an application.
Step 2: Check that the visa matches the activity
Read the visa’s purpose, stay period, work or study permissions, location rules and conditions. For example, a visitor visa is not a general work permit. A student visa is tied to a genuine study plan and its specific requirements. Employer-sponsored and skilled-migration routes may involve a role, sponsor, occupation, skills assessment, nomination or invitation. A visa’s label alone does not tell you every condition.
Some eligible travellers may be able to apply for an Electronic Travel Authority (ETA) using the Australian ETA app, rather than through ImmiAccount. The ETA is not available to every passport holder, and Home Affairs says not to use ImmiAccount to apply for an ETA. Other visa applications commonly use ImmiAccount, although the exact channel and sequence depend on the subclass. Confirm the application method on the official visa page before creating an account or paying for assistance.
If your plan is to study, first check the course and provider requirements for the Student visa (subclass 500); our Australia Student Visa Subclass 500 guide provides a focused overview. A job offer, school admission or family invitation can be relevant evidence, but none of them by itself guarantees a visa.
Step 3: Read the exact subclass and stream requirements
Once you have a likely option, open the Home Affairs page for its precise subclass and stream. Review who can apply, where the application can be lodged, whether you must be in or outside Australia at particular stages, and what must happen before you lodge. Check age, English, health, character, financial, sponsorship or qualification criteria only where they apply to that route.
For points-tested skilled visas, an expression of interest, skills assessment, nomination or invitation may come before the visa application. An expression of interest is not itself a visa application or permission to travel or remain in Australia. For employer-sponsored routes, an employer may have separate sponsorship and nomination steps. For study, the provider and course information must match the relevant application requirements. Follow the sequence published for your own route instead of starting with a generic form.
Make a short route note for yourself: the subclass and stream, the reason it fits your plans, where you will lodge, any prerequisite steps, and the official page you used. If you cannot explain why the visa conditions fit your intended activity, pause and check the requirements before paying a fee.
Step 4: Build a document checklist from your own visa page
There is no universal document pack for all Australian visas. Start with the “gather your documents” instructions for your subclass and answer the questions shown in your application. The requested evidence can vary by route and applicant. Some documents prove identity; others support a specific claim, such as enrolment, a sponsored position, relationship, funds, work history or travel purpose.
Common records may include a passport, identity or civil documents, evidence relevant to your travel purpose, and information about previous travel or immigration history. Depending on the route, you may also need education or employment records, sponsorship evidence, a skills assessment, English-language results, financial information, police certificates, health examinations or biometrics. These are examples, not a checklist that every applicant must submit.
Use a simple evidence map to check whether the application is internally consistent:
- Identity: Do the names, dates of birth and passport details match across the form and documents?
- Purpose: Does the evidence support the activity and route you selected?
- Eligibility: Have you supplied the evidence requested for each criterion that applies to you?
- History: Are previous visas, travel, refusals or other declarations answered accurately?
- Translation: Have non-English documents been translated according to current Home Affairs instructions?
- Completeness: Are scans legible and complete, and uploaded under the correct document category?
Do not upload documents just because another applicant did. Equally, do not leave out a document that your own application requests. Explain genuine inconsistencies or unusual circumstances clearly and truthfully. Keep a copy of the forms and files you submit.
Step 5: Create or sign in to ImmiAccount when required
For many online visa applications, ImmiAccount is used to start or continue an application, attach documents, submit and pay, read messages, and check progress. Use the account type and application option that match your situation. If you already have an account, sign in rather than creating another one unless Home Affairs instructs you otherwise. Use an email address you can access and protect your password and multi-factor authentication codes.
After signing in, select the relevant new application and read the terms and prompts. Save as you work, and use the correct applicant’s details throughout. Some applications can be shared or imported, but those functions have limits; they do not apply to every application or status. Do not give an unofficial person your account password. If you appoint an authorized representative, understand what permission you are giving and use the formal process that applies.
Our Australia visa processing time guide can help with planning after lodgement. Remember that processing estimates are not promises, and a saved application is not the same as a submitted application.
Step 6: Complete, review, pay and submit
Answer every question truthfully and carefully. Check names against the passport, use consistent dates, and make sure answers in different sections do not contradict each other. Do not guess at dates or omit a past event because it seems unimportant. If a question is unclear, read its help text and the official guidance for that visa before submitting.
Before the final submission, review the declarations, applicant details, attachments and payment instructions. The visa application charge depends on the visa and may change. Check the current amount and payment method in the official process immediately before lodging. Other costs—such as medical examinations, biometrics, translations, police certificates or payment-provider charges—may be separate. Our visa fees and documents guide explains how to distinguish a government application charge from other possible expenses.
Follow the on-screen steps to submit and pay. Do not assume a form marked as saved, incomplete or ready to submit has been lodged. Keep the confirmation, transaction details and a copy of the completed application. If a payment appears to fail, check the official account and payment instructions before trying again to avoid duplicate charges.
Step 7: Monitor the application and respond to requests
After lodgement, check the account or channel used for the application, read messages in full, and keep your email and contact details current. Home Affairs may request additional information, biometrics, a health examination or another action, depending on your case. Follow the notice’s deadline and submission method. Uploading an unsolicited file does not replace answering a formal request as instructed.
Tell the Department about relevant changes if the instructions require it—for example, a new passport, changed contact details or another material change in circumstances. Do not submit a second application just to ask for an update. For general guidance on tracking an application, see our visa application status guide.
Step 8: Read the decision and check the conditions
Read the decision notice carefully. If the visa is granted, check the visa details, permitted stay, entry period, number of entries and conditions before travelling or beginning work or study. Keep the grant notice available. If the application is refused, read the reasons and the notice’s information about any review rights or deadlines. Review options depend on the decision and circumstances; do not assume every refusal can be appealed or that one deadline applies to all cases.
Do not make non-refundable travel arrangements on the assumption that a visa will be granted by a particular date. Home Affairs advises applicants to apply well ahead of intended travel and suggests booking flights after a visa grant. Where a route has a strict start date, check what the official guidance says about timing and the consequences of a late decision.
Common mistakes to avoid
- Choosing a visa based on its title rather than the activities and conditions it permits.
- Assuming every passport holder can use the same visitor route or online application method.
- Using ImmiAccount for an ETA when Home Affairs directs eligible travellers to the ETA app.
- Relying on a generic document checklist instead of the current subclass-specific instructions.
- Submitting inconsistent information, unclear scans or translations that do not follow the rules.
- Believing that saving a form means it has been submitted and paid.
- Missing a message or deadline because you did not monitor the account or email.
- Booking non-refundable travel before the visa decision.
Frequently asked questions
Can I apply for an Australian visa without ImmiAccount?
Many Australian visa applications are lodged online through ImmiAccount, but it is not the route for every service. For example, Home Affairs says not to use ImmiAccount to apply for an ETA. Some applications may have different lodgement instructions. Check the official instructions for your precise visa and passport before starting.
Do all applicants need the same documents?
No. The documents depend on the visa, stream, answers and circumstances. Use the specific visa page and the document requests in your application. A checklist from another applicant can help you think of questions, but it cannot replace your own official requirements.
When should I book flights?
Do not assume that an application or processing-time estimate guarantees a decision by your planned date. Home Affairs recommends applying well ahead and suggests booking flights after the visa is granted. Check the conditions on the grant notice before travelling.
The safest starting point is to identify your purpose, confirm the correct subclass and read its current official step-by-step instructions. Then prepare evidence for your own circumstances, review every answer, submit through the correct channel and monitor messages until a decision is made.